
Hello people,
 This card turn out very pretty and I decided to gift it to one of my crafty friend. I hope she likes it. Layout wise this card is inspired by very talented crafter Neha's this card. I always wanted to make something like that :)
I have decided to write out the complete method in steps from now onwards. Following are the steps I took to make this card:
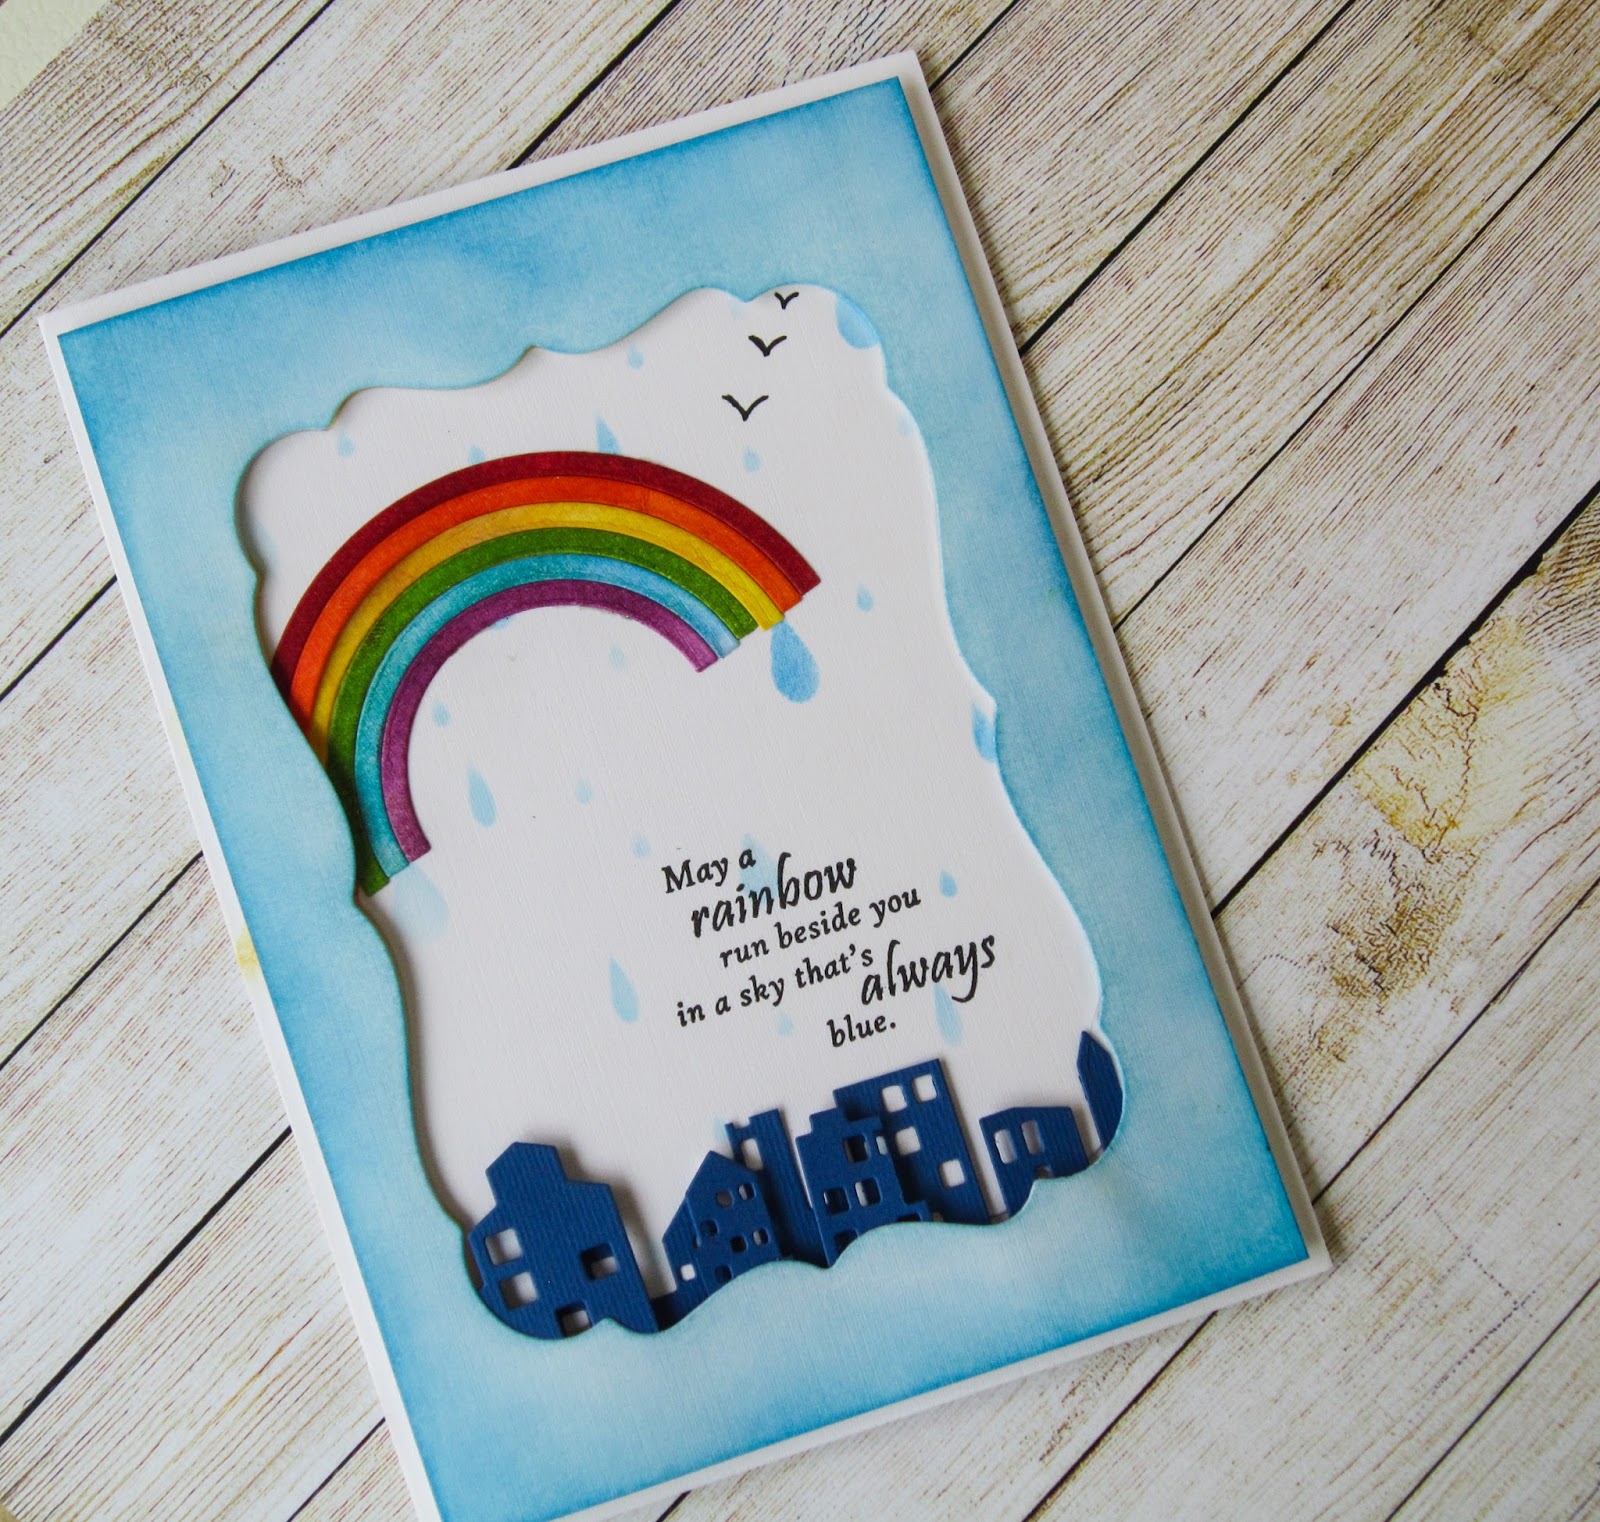
Step 1 I die cut the rainbow and sponged the distress inks on stripes in various colors as in rainbow.
Step 2 I took a card stock 1/4" smaller than card base and die cut the largest label from spellbinders label 17 die and sponged the negative with tumbled glass and salty ocean distress inks.
Step 3 I took a white card base and marked the outer edge of label negative with pencil and sponged salty ocean distress ink on rain drops stencil, within the marked area.
Step 4 I stamped this beautiful sentiment from Wplus9 Guiding light sentiment with black versafine ink within the marked area at desired place adhered the rainbow strips as per my plan.
Step 5 I took some dark blue card stock cut the 2 die cuts with Memory box cityscape die and adhered one die cut at the bottom of marked area and foam mounted some parts of second die-cut upon it. It added some dimensions to the buildings. Here is the closer look:

Step 6 At last, I foam mounted the negative die cut panel and that completes my card for today.One more picture is as following:

Parul here.. As soon as I saw the ongoing Sparkle and Shine challenge,the first thing which came to my mind was RAINBOW. So I thought of using my rainbow die from Paper Smooches, I was dying to use since I had bought it. My today's card started with the rainbow and looked like following after completion..
I have decided to write out the complete method in steps from now onwards. Following are the steps I took to make this card:
Step 1 I die cut the rainbow and sponged the distress inks on stripes in various colors as in rainbow.
Step 2 I took a card stock 1/4" smaller than card base and die cut the largest label from spellbinders label 17 die and sponged the negative with tumbled glass and salty ocean distress inks.
Step 3 I took a white card base and marked the outer edge of label negative with pencil and sponged salty ocean distress ink on rain drops stencil, within the marked area.
Step 4 I stamped this beautiful sentiment from Wplus9 Guiding light sentiment with black versafine ink within the marked area at desired place adhered the rainbow strips as per my plan.
Step 5 I took some dark blue card stock cut the 2 die cuts with Memory box cityscape die and adhered one die cut at the bottom of marked area and foam mounted some parts of second die-cut upon it. It added some dimensions to the buildings. Here is the closer look:

Step 6 At last, I foam mounted the negative die cut panel and that completes my card for today.One more picture is as following:

I hope you like the card and do tell me if writing the card making process in steps is better.
I am linking this card to Sparkle and Shine challenge fifteen
No comments:
Post a Comment